Learn how to turn an illustration into stickers, labels, and gift tags.

Of all the ways to use your iPad or tablet, using the Procreate app to make stickers has to be one of my favorites as an illustrator. You can quickly turn a small digital drawing into a sticker in just a few easy steps, whether you plan on printing them yourself, making stickers to use with a Cricut machine, or ordering stickers online.
Why you should make stickers in Procreate
Stickers are a popular product for illustrators to sell, but the possibilities don’t end there. You can use the same steps to make traditional printed stickers or digital stickers to use in apps like Goodnotes. You can also think beyond stickers and create gift tags and labels following the same process.
Steps for creating stickers, labels, and tags in Procreate
Step 1: Set up your file
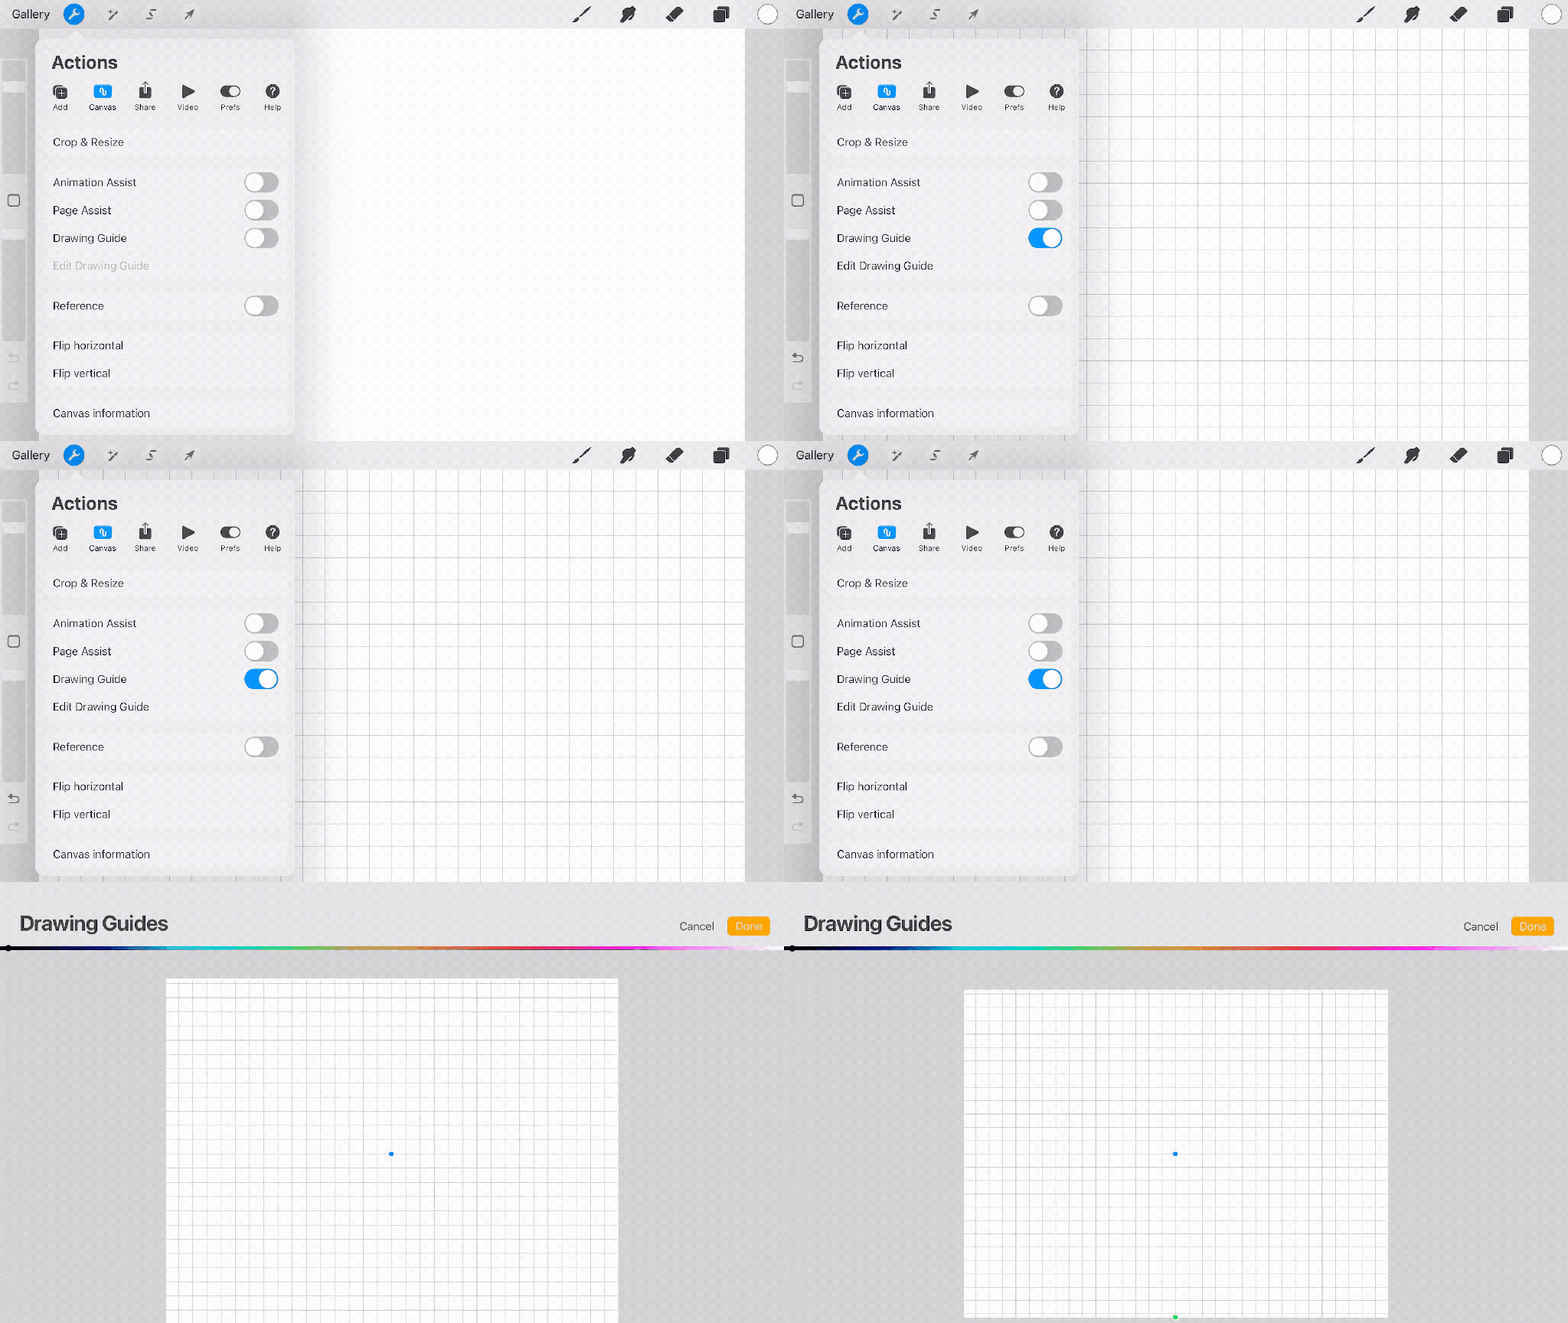
What size should you make stickers in Procreate? Common sticker sizes range from around 2.5” to 5” for larger stickers so make sure to set up your canvas size to accommodate the size you want your final sticker to be, especially for printing. A standard US letter size (8.5″x11″) will work well if you want to create a full page of stickers or labels to print. Be sure to use 300 ppi for the highest quality printing.


Step 2: Draw your sticker design
Use brushes to draw your sticker with illustrations or text. You can also add text with a text box. Create your design with different elements on separate layers to make editing your work later easier. When your design is final, make a duplicate copy of your document so you can always go back and make changes to the original. In the new copy, flatten your sticker by merging the layers of each sticker together.

Step 3: Add an outline or cutlines
If you’re sending stickers to be printed from a company, some companies will add cutlines for you. However, if you’re printing stickers at home or using a Silhouette or Cricut, it’s good to add your own outlines and cutlines, especially for designs where you have a lot of variation around the edges, like the gift tag below.

Step 4, Option 1: Draw an outline using a brush
Create a new layer and arrange it below your sticker layer. Select the simple monoline brush under the Calligraphy tab under brushes. Select a color for your outline, I like to use white. Trace a shape around the borders of your sticker design to make an outline. Then fill the outlined shape with the same color.

Step 4, Option 2: Create an outline using Gaussian Blur
This is my preferred technique for a design that’s a little more complex. Duplicate the layer that your sticker design is on. Turn on Alpha Lock for whichever duplicate layer is lower. With the color you want for your border selected, tap on that same layer again and select Fill Layer. Tap the layer again to turn off Alpha Lock. With the border layer selected, tap the magic wand and select Gaussian Blur. Turn this Gaussian Blur amount up using the slider to make your border at a size you’re happy with. Open the selection panel and make sure that you have Automatic and Color Fill selected. Then tap somewhere in the image and drag to the right to fill in the blurred area with solid color until you’re satisfied with the outcome. The border edges will still be a little bit rough so you can use a monoline brush to trace along the edges and smooth them out.


Optional: If your border is white and you plan on printing the stickers at home, you can trace along the edges of the border with a dotted black brush to make cutting lines.
Step 5: Export your stickers
For digital stickers and cutting machines, export your designs as a transparent PNG with no background. If you’re going to print your stickers at home, you can export as a PDF.
Dive deeper in Procreate
I hope this inspires you to make endless amounts of stickers! If you’re new to using Procreate or digital drawing, check out my class: Design With Procreate: Gift Tags, Stickers, and Labels on Skillshare. It walks you through every step of how to make stickers in Procreate with a lot more detail and video demonstrations including sketching, choosing colors, and how to draw in Procreate. You’ll also get access to a Procreate brushes download with three free brushes!


